This guide is a follow-up to Laravel & Heroku Workflow so if you haven’t read that yet, read it now.
So we’ve created a new heroku app, now let’s install MySQL. First, open your apps listing here and choose the app you want to install MySQL on.
You should now see something like this

In the Add-ons search field, type ClearDB MySQL and select it.
Choose the free plan (Ignite) and click provision.
So now you’ve got MySQL installed, now we need to set it up so the app uses our local env config on our machine and our heroku db config when we deploy to heroku.
Go to your apps listing on heroku and choose your app. Click on the Settings tab. You should now see a config tab like in the picture below.
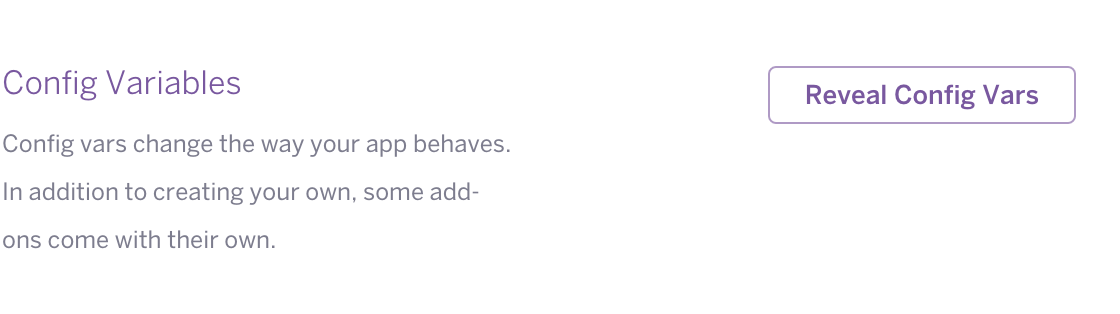
Click Reveal Config Vars and copy the CLEARDB_DATABASE_URL value.
I’ll use mine as an example: mysql://b419fdf6d21e11:c78bdf37@us-cdbr-iron-east-02.cleardb.net/heroku_f7469a0c6b39995?reconnect=true.
Everything after the @ symbol until the / is the DB_HOST, us-cdbr-iron-east-02.cleardb.net
Everything after / until ? is DB_DATABASE, heroku_f7469a0c6b39995
The string after the // until : is the DB_USERNAME, b419fdf6d21e11
The string between : and @ is the DB_PASSWORD, c78bdf37
Now that we have our heroku DB credentials, let’s update our database.php file so that the app can access the ClearDB database when deployed to heroku.
My credentials now look like this.
'mysql'  => [
    'driver'    => 'mysql',
    'host'      => env('DB_HOST', 'us-cdbr-iron-east-02.cleardb.net'),
    'database'  => env('DB_DATABASE', 'heroku_f7469a0c6b39995'),
    'username'  => env('DB_USERNAME', 'b419fdf6d21e11'),
    'password'  => env('DB_PASSWORD', 'c78bdf37'),
    'charset'   => 'utf8',
    'collation' => 'utf8_unicode_ci',
    'prefix'    => '',
    'strict'    => false,
],
Since I’m using Laravel 5.2 at the moment, I’ll run php artisan make:auth so that I get out of the box migrations for auth.
Now we can git add . && git commit -m "Added DB Config", and afterwards we can run git push heroku master.
Side Note: If you want to run any command directly on your heroku server, you need to prepend the regular command with heroku run, inside your project directory.
For example, if you want to run php artisan inspire on your heroku server you would run heroku run php artisan inspire.
Now go ahead and run heroku run php artisan migrate:refresh to run the migrations on the heroku server.
And just like that, you have a working staging environment with a MySQL database ready to go.
Note: ClearDB has an auto-increment value of 10 so the record ID’s will range from 2, 12, 22 and so on. The Ignite plan has a maximum database size of 5MB.